The other day LinkedIn served me up a post from a photo retoucher who made the perfectly valid point that while AI can’t fix an inherently bad photo, it can be used to rescue one from disaster. I’m kicking myself for not saving the post, because while it made some interesting points, it also reminded me that context and purpose matter as much as the content of the image.
Let me explain that a bit (ok, a lot) more.
Macaroongate
Their example was a photo sent to them by a client. It was a food photo of a macaroon on a bright pink background. There was a spatula sticking out from under the macaroon which needed to be removed, the depth of field was wrong (more of the product needed to be in focus) and the background needed to be plain white.
The retoucher said they’d used AI extensively to correct the flaws and created a commercially usable image. All good then, except the casual reader might have been left with the impression that it’s ok to do this kind of twiddling on any photo, regardless of the content or the purpose of the mage. However, here is where I would advise caution.
Content and Context
When considering where, how and why a photo is to be published, context becomes a critical consideration.
Photos which are intended to represent reality mustn’t be altered. It doesn’t matter if it’s for a newspaper or just a tweet, if the context is to illustrate a PR event or news story, alteration of the image beyond what the camera saw at the moment of capture is wrong. In the case of newspapers (and their associated websites and social media channels), image manipulation beyond certain specified basics are considered a breach of the Editors’ Code of Practice.
Even in the Wild West Frontier of social media, brand credibility can be trashed if images are manipulated. Adding logos to clothing or signage, moving or removing irritating background items or changing colours (amongst many other dodgy options) should all be considered no-nos when the purpose of the photography is to illustrate an event.
All of which brings me to a recent failing of my own.
Kicking Myself (for the second time in this article)
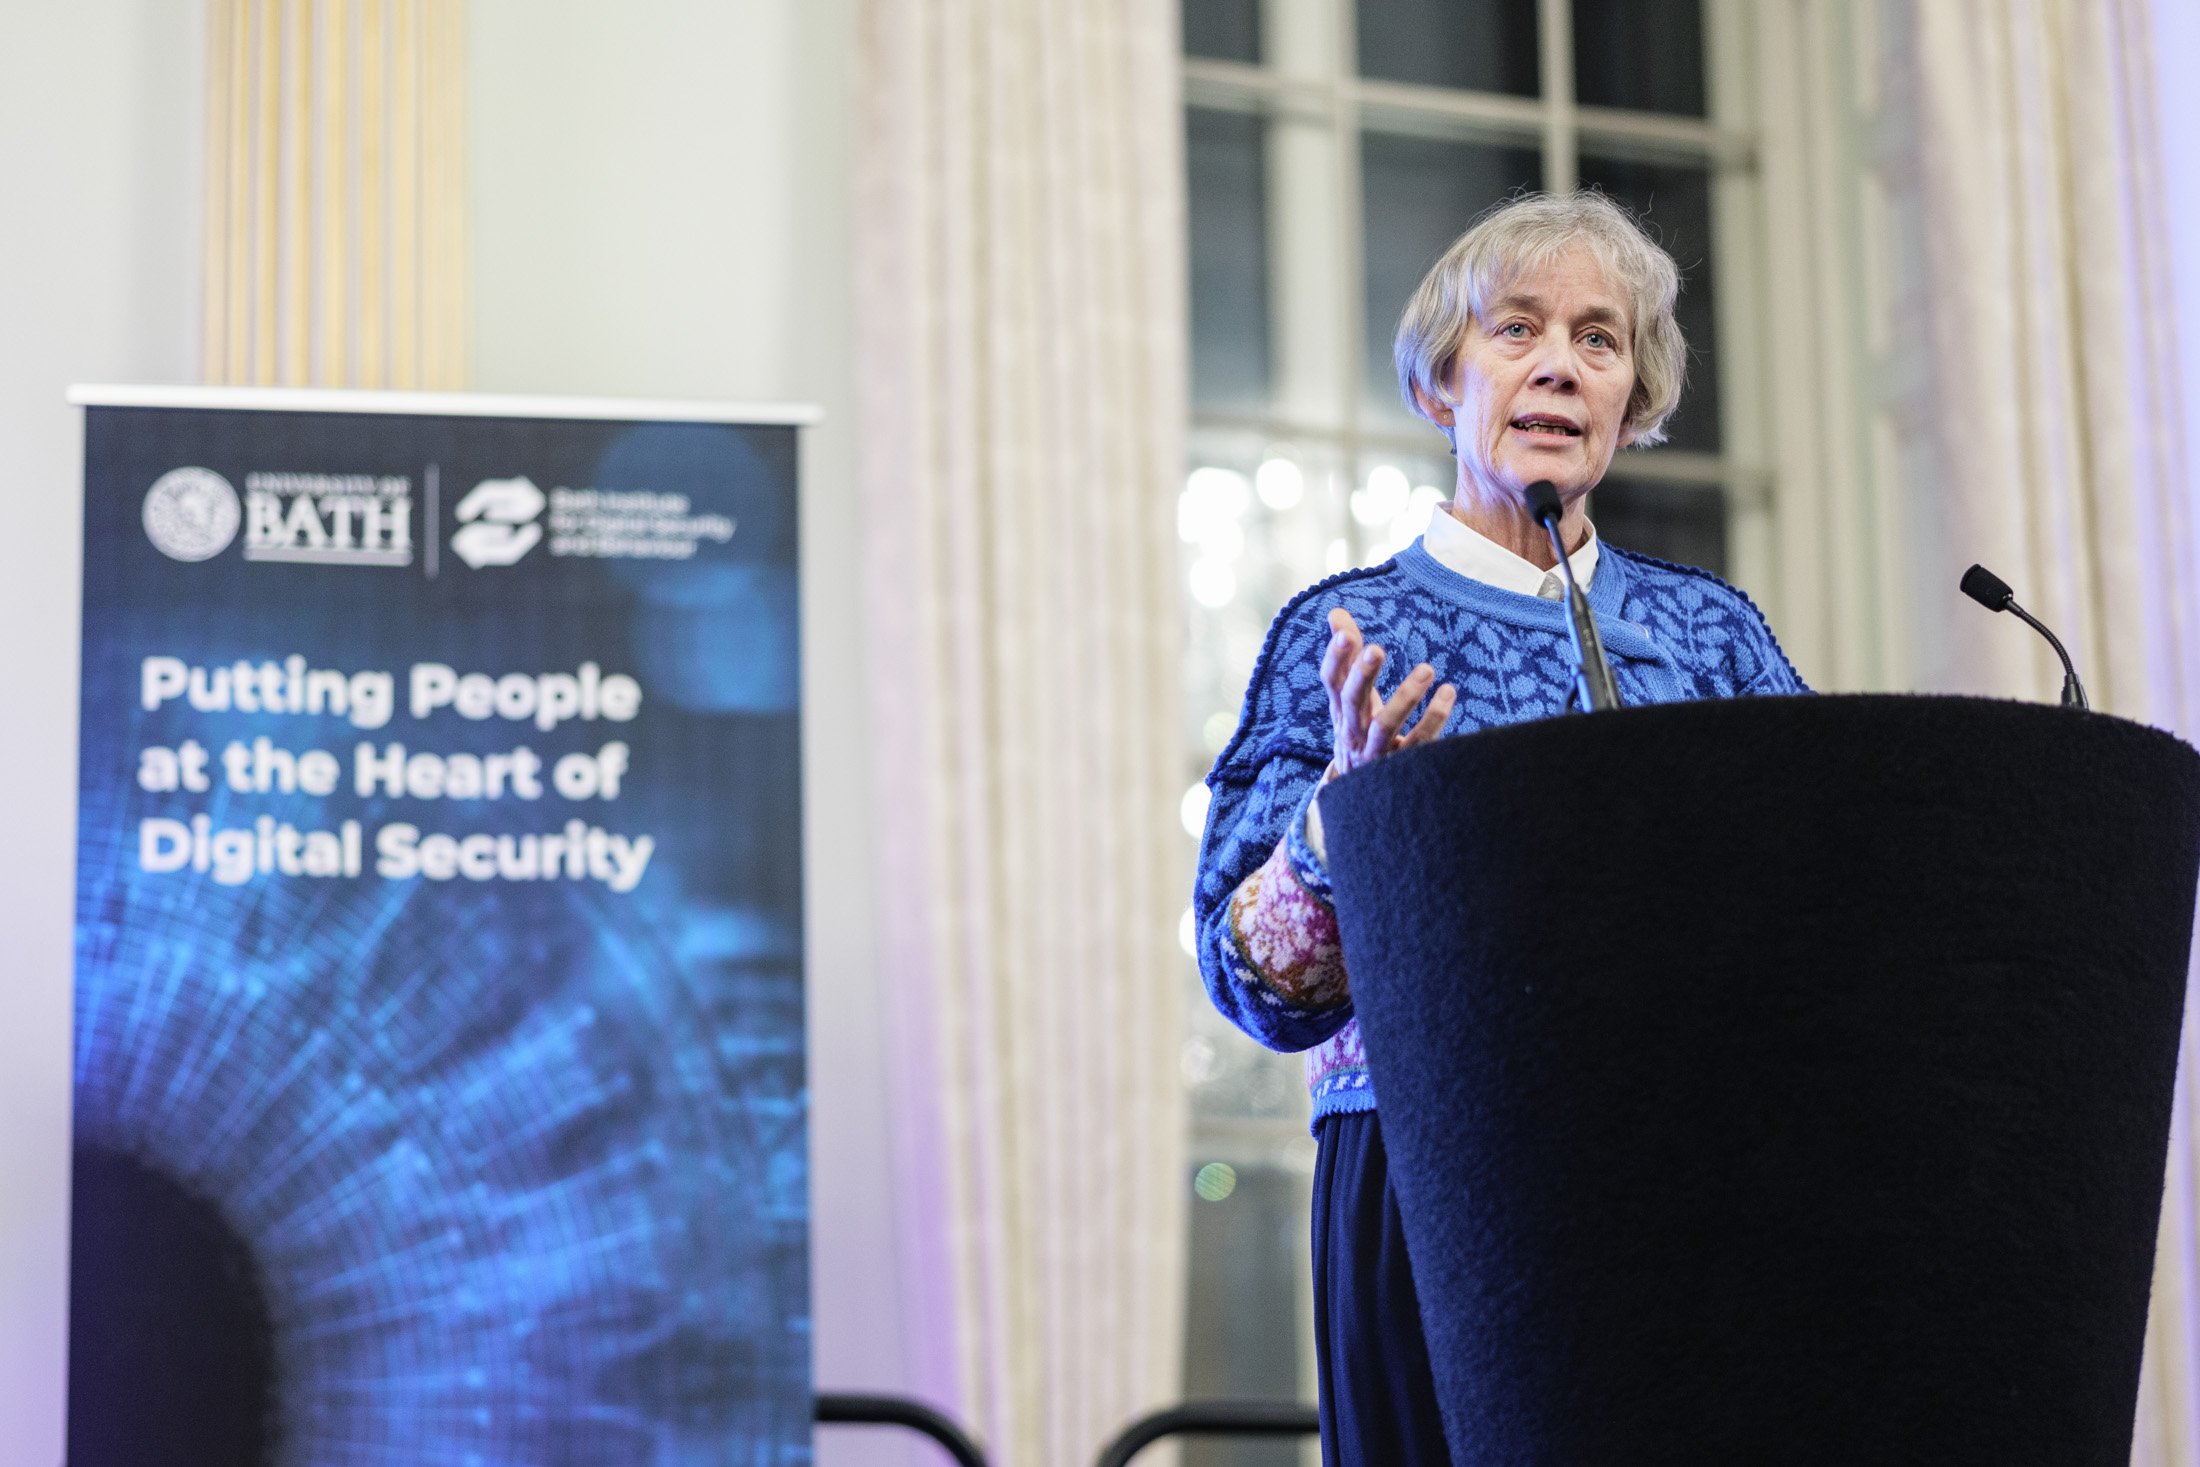
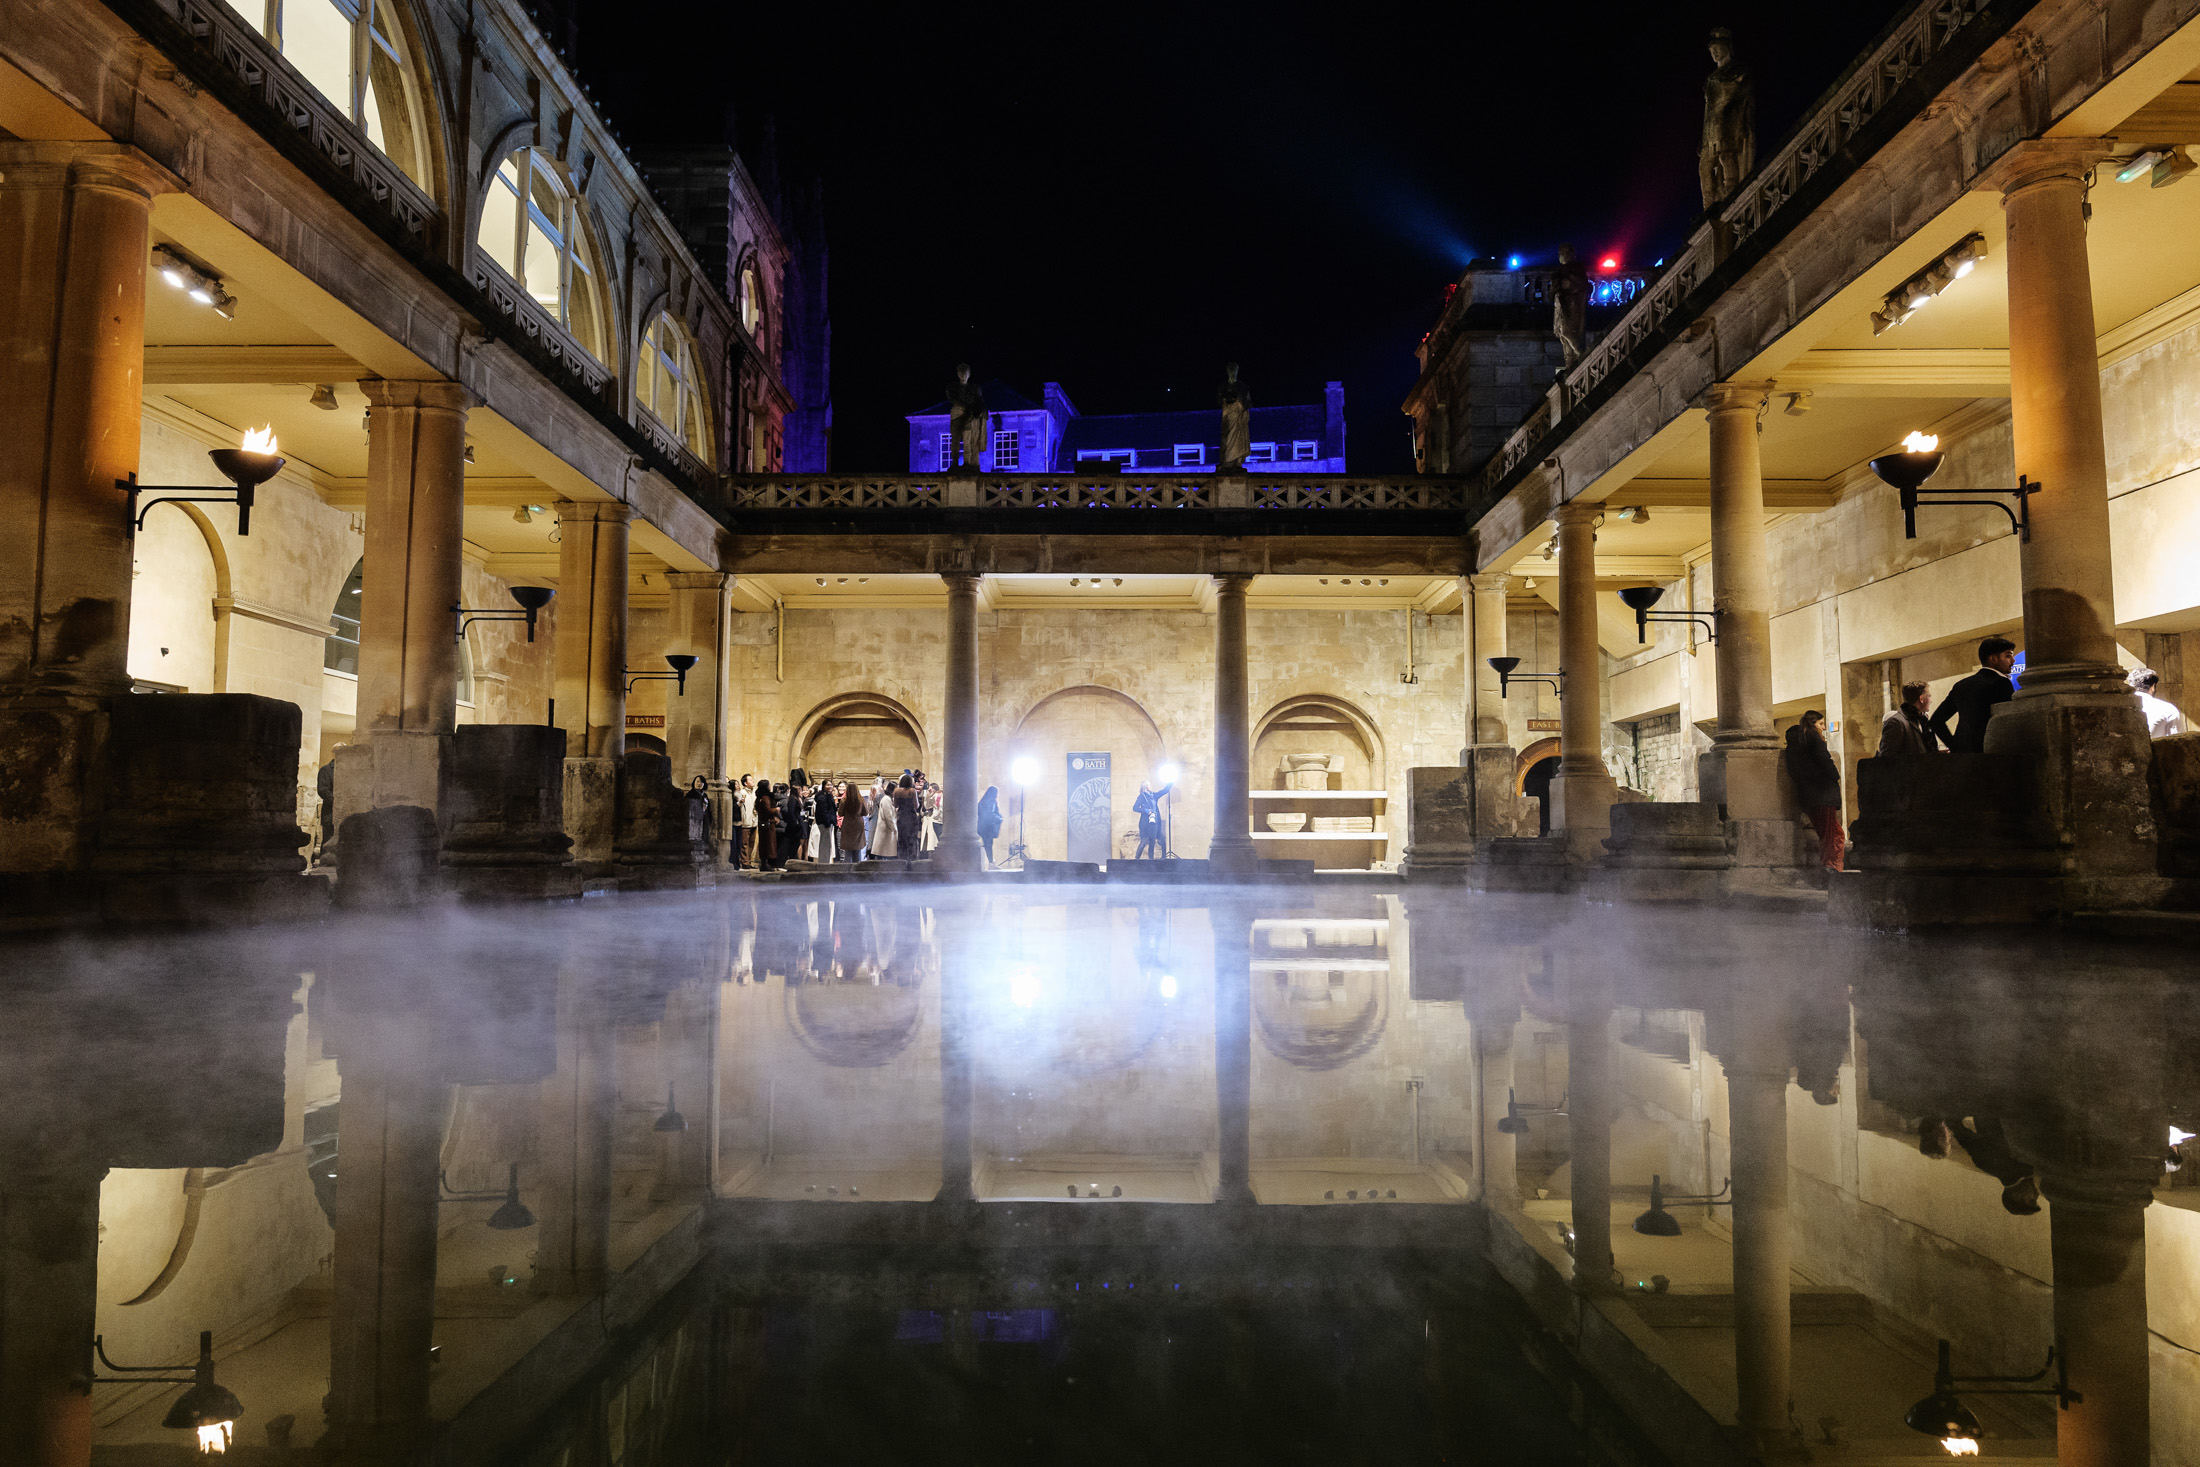
In the group photo below taken for University of Bath, what irritates me the most is the fan lurking at the back of the stage. I’d already shifted it as much as I could before the event kicked off so it didn’t show up behind speakers at the lectern. However when I had only a few seconds to get the group shot at the end (I needed to be quick, or risk making Sir Christ Whitty miss his train), I failed to notice it was now visible again.
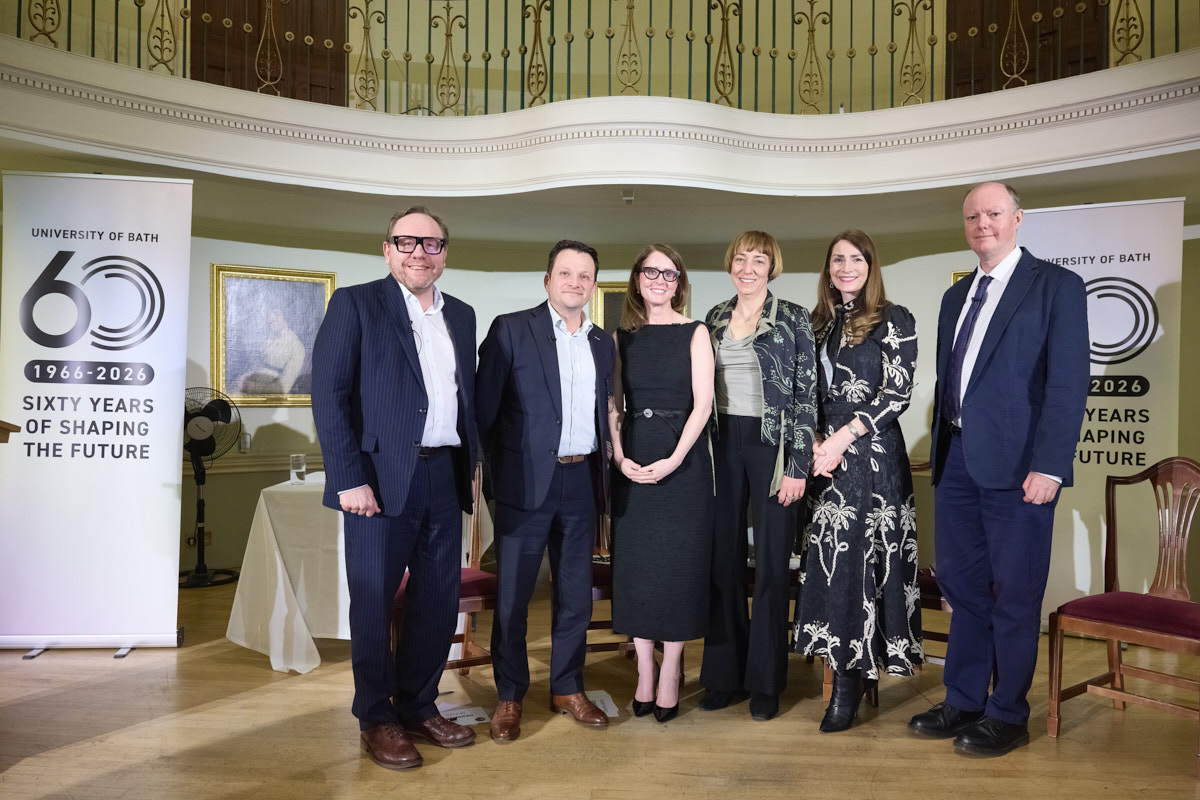
The simplest fix would have been to bring the pop-up banner (at left) forward. This would have hidden the fan and the table with the water glass, balanced the group and made the branding more prominent. One small action would have tidied the entire picture!
Thinking back I was rather preoccupied with organising six people into a tidy group under time pressure, simultaneously fretting about whether the poor stage lighting was going to give me a clean image, but it’s easy to make excuses after the event.
You might argue that since the photo was staged and therefore not ‘reality’, I could have used an AI service to move the banner and fix all the problems I’ve listed, but the thing is even a staged photo at a real event contains its own kind of reality.
What Is Reality Anyway?!
We could argue about the truth of any photograph, but while the viewer here would understand, without needing to be told, that this is a staged group photo, using software to tidy the scene after the fact would be deceptive.
Of course this isn’t a hard news photo, but it is a record of an event which took place and destined to be used to ‘report’ on that event. Therefore, manipulation would not have been a good idea.
Maybe I should start using sloppy background errors as a way of ensuring nobody thinks my work is manipulated, a sort of signature of authenticity if you like. No, I think I’ll just remind myself to always check the background first (one of my earliest lessons as a local news photographer).
When setting up a picture like this group, it would be acceptable to move elements and arrange people for the optimum photo before it’s taken; doing so in post-production harms our trust in what we see in media announcements.
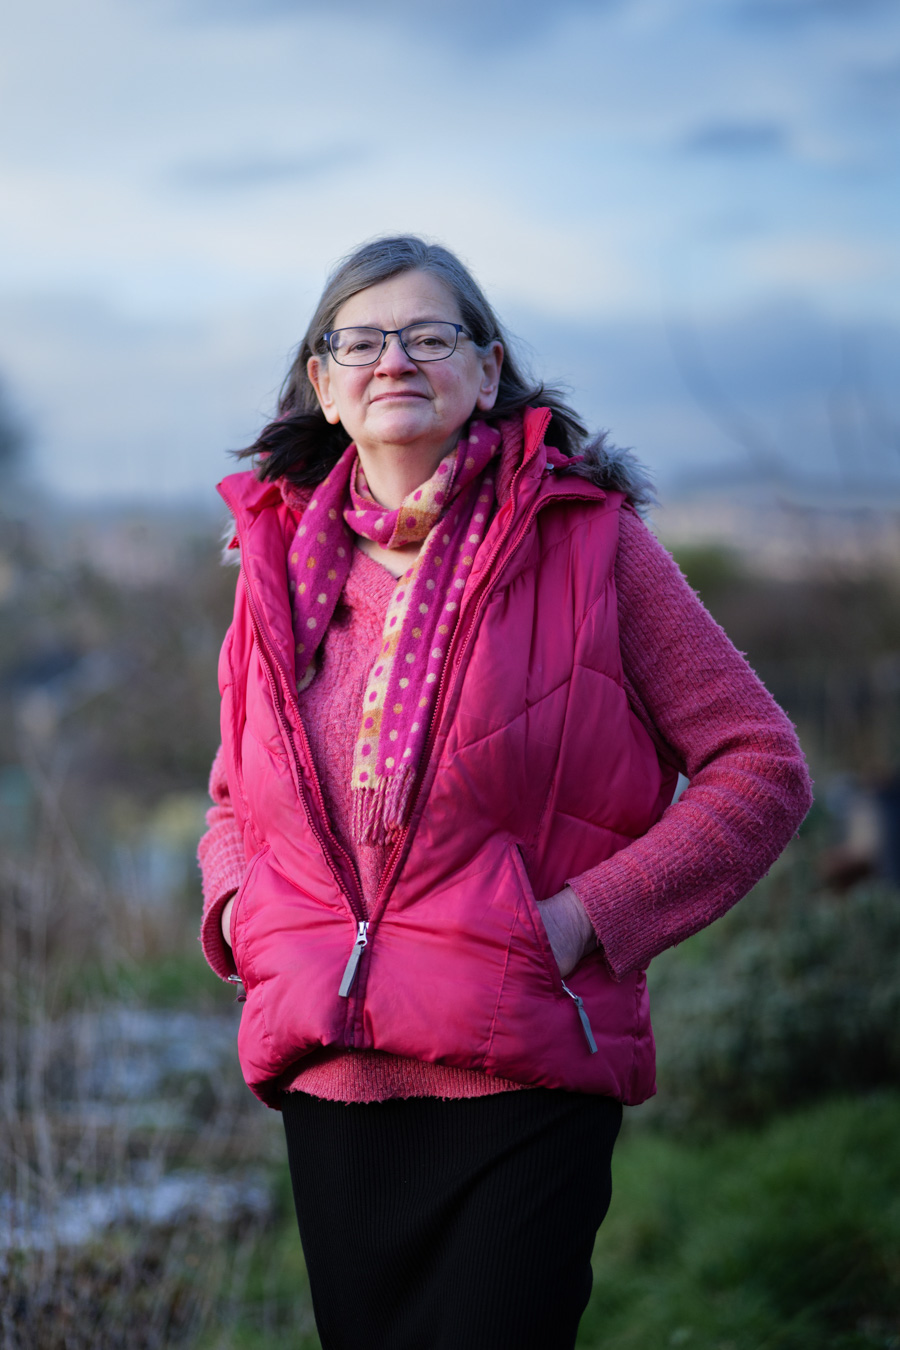
What About Headshots?
It’s a little different when I’m doing corporate headshots or images for corporate websites and brochures where there is no pretence at representing a news story or event. The images on a business website are generally there to promote or sell a service. They effectively become advertising, where manipulation is fair(er) game.
For corporate portraits I have a policy of cleaning up temporary blemishes and removing stray hairs, but the circumstances, context and purpose of such photos is very different. I’m not trying to say, “This is exactly what Sheila Jones looked like on this particular day.” The client (or Sheila) wants to give a representation of themselves as a real person who’s friendly, professional and approachable. As long as the image isn’t altered beyond recognition, some retouching is perfectly acceptable.
On occasions where an image isn’t destined for publication (perhaps it’s just a keepsake for the participants) it’s also acceptable to apply heavier editing. The problem here can be that once an image is “out in the wild,” it’s also harder to control where it might end up.
Which Leaves Me Where?
Back to my own example, of course there are things I could have tidied up, but having made the picture I made I accept it for what it is; a quick group photo, a record of a moment, where no one but me (and now anyone reading this article) will even notice the shortcomings of the result.
I don’t have to be fine with that, but neither will I beat myself up over it. I can be comfortable with the knowledge that I haven’t used AI to hide my mistake.
Just to say, the evening itself was fascinating and I highly recommend watching Sir Chris Whitty’s lecture via this link.