Tips for hiring a co-working hub when you have no office, or your office isn’t suitable.
While co-working spaces have been a growing trend for more than a decade, the Covid 19 pandemic definitely accelerated the move away from fixed, permanent offices for many businesses.
More generally, the co-working or shared office trend also reflects the post-pandemic rise in entrepreneurial ventures as people move away from wanting to work within large organisations, and more towards fulfilling their own dreams and ambitions.
Even large organisations have migrated teams out of big central hubs in favour of smaller, regional centres. It’s a trend which is currently growing, with little sign of abating.
Whatever the size of your business, there could be many reasons you don’t want a shoot in whatever space you have – perhaps it’s too small, or maybe it’s an uninspiring red brick cube with cramped desk-filled cubbies and a boardroom that serves its function, but isn’t aesthetically pleasing.
The Hiring Option
So if hiring a suitable space in a co-working environment is an option for your next corporate photography session, what are the advantages and disadvantages? And how can you get the most out of it?
This article will guide you through some of the challenges of finding the right spot for your office-less office shots and corporate portraits.
The Advantages
There are genuine advantages to having a photo session in a co-working hub:
• The look to suit you – from ultra-modern to supercool, you can find a space which reflects your attitude, personality and business values. Even better, all that interior design work has been done for you; it’s a photo set ready and waiting for you.
• Flexibility – depending on the requirements of the photo session, you can negotiate anything from a couple of hours to an entire day. Likewise you can scale the size of space you need depending on whether it’s a few simple headshots, images to reflect a meeting, a huddle or colleague collaboration across desks.
• All the kitchen and toilet facilities are there, and in the best hubs the staff will be only too willing and helpful when it comes to accommodating you and your team.
• Accessibility – if people are coming from various locations, co-working hubs are normally easily accessible by public transport or have parking nearby. Most co-working buildings, though sadly not all, are easily accessible by wheelchair too. That’s certainly worth checking in advance.
• A chance to get away from the desk – taking the time away from your usual surroundings to concentrate on your business image is no bad thing. It’s often a good time to have those “blue sky” thoughts while your brain is distracted by having to pose for the camera.
What To Look Out For
Of course you need to be aware of some of the pitfalls of this way of working.
• You’re away from the office! Although, I’d still argue the benefits outweigh the disadvantages of this.
• Finding the right space – with so much choice, it can be hard to find the space that fits your ethos precisely. I’m happy to help with this by offering ideas for locations I’ve used, or ones I’ve spotted and thought would be good. Here’s a search based on Bristol, my main city for work. Likewise for Bath, Chippenham and Swindon.
• Cost – It is an additional cost on top of the actual photography, but by leaving you (the client) to liaise directly with your chosen space, I don’t end up charging VAT on top of VAT, so it might not cost as much as you think.
• Finding enough space – Getting the right look can require a surprising amount of empty floor space, but I can usually advise on the best room to hire based on its size and flexibility.
• Fixtures and fittings – It’s surprising how many great looking spaces become difficult to work in because whichever way you turn, there’s a black monitor screen on a wall, an exposed conduit, light switches, thermostats, fire extinguishers, radiators, shelving, white boards… I could go on. The (often essential, sometimes arbitrary) wall clutter and objet d’art can ruin an otherwise promising space because it all gets into the background of a photo. It’s worth asking the host to send additional current photos of the space to include what’s on the walls from floor to ceiling height. Some things might be easily moved, others will be fixed, but hopefully some will be useful features in the photos.
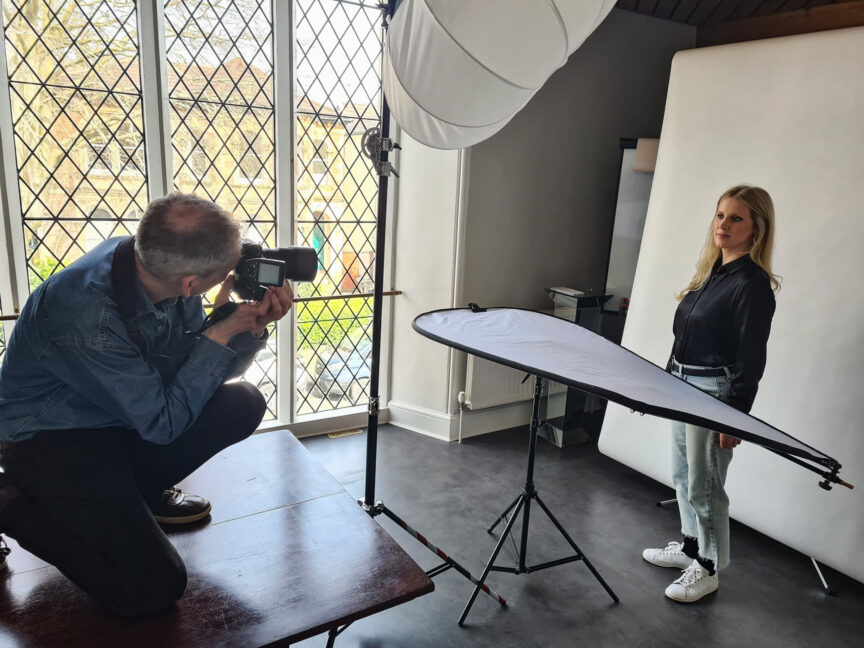
• Lighting – I bring my mobile studio lighting kit to shape the light how I want it, but it’s still helpful to know in advance what windows or skylights are there and also what the light fittings look like. A chandelier might be groovy in real life, but it can look very odd in a business meeting shot. Again, a handful of current photos from the host can be useful here.
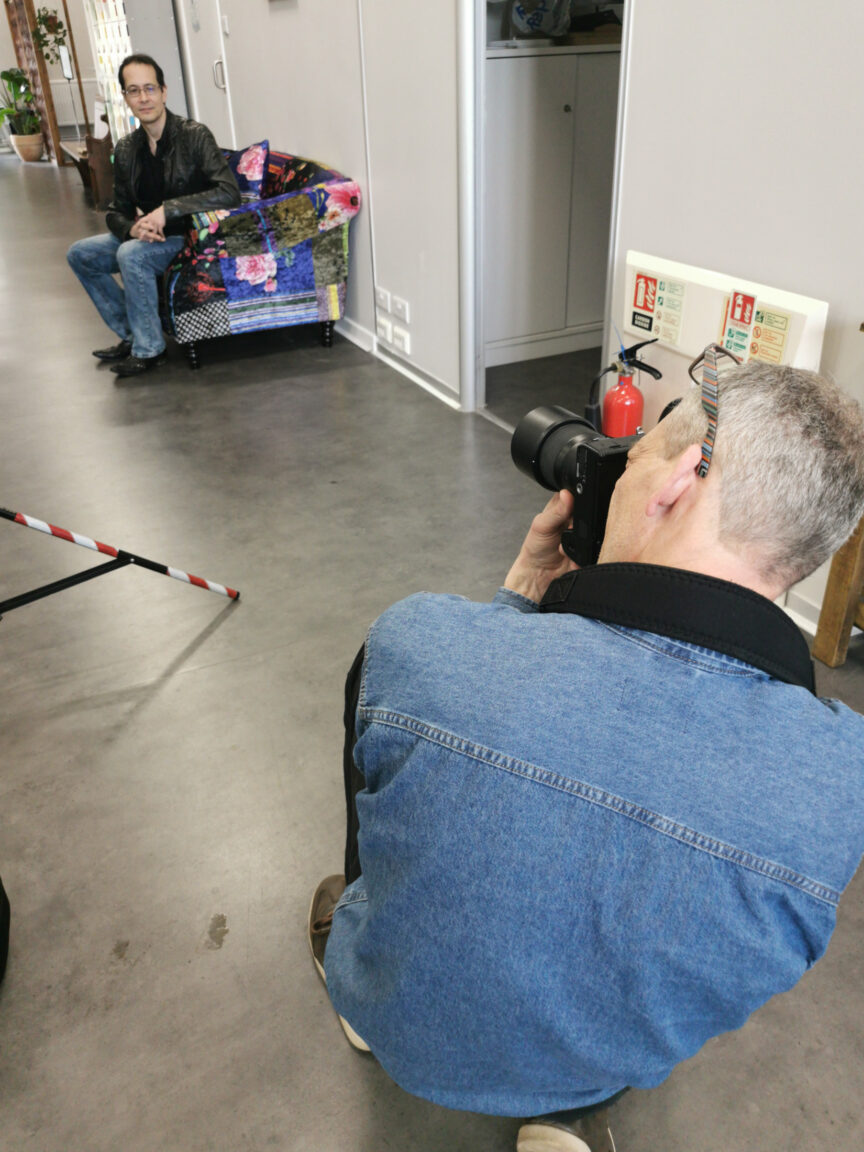
• It’s a shared space – While it might be easy to shut off a meeting room for a photo session, often the shared open spaces are full of photographic possibilities. This requires some diplomacy then if people are already set up and working in these areas, but I usually find a quick conversation about what we’re doing and how long we need is enough to minimise potential irritation.
• Things might change – From one photo session to the next, a co-working space might be refurbished, or they might close down. Ok, it’s a risk, but then few offices stay the same forever and there’s often a time at which it’s good to get everyone’s headshots re-done from scratch. That’s when a fresh space might be worth considering anyway.
Planning Planning Planning
The key to a successful photo session in a shared co-working facility is in planning the timing, location and access. Everything else is just the same as in working in your own space, such as choice of clothing and how you wish to present yourself to the camera.
With a little forward planning, your out-of-office photo session will not only be more successful, it’ll also be a more enjoyable experience.
If you would like more help on this, or any other aspect of planning your next corporate photo or video session, do drop me a line.
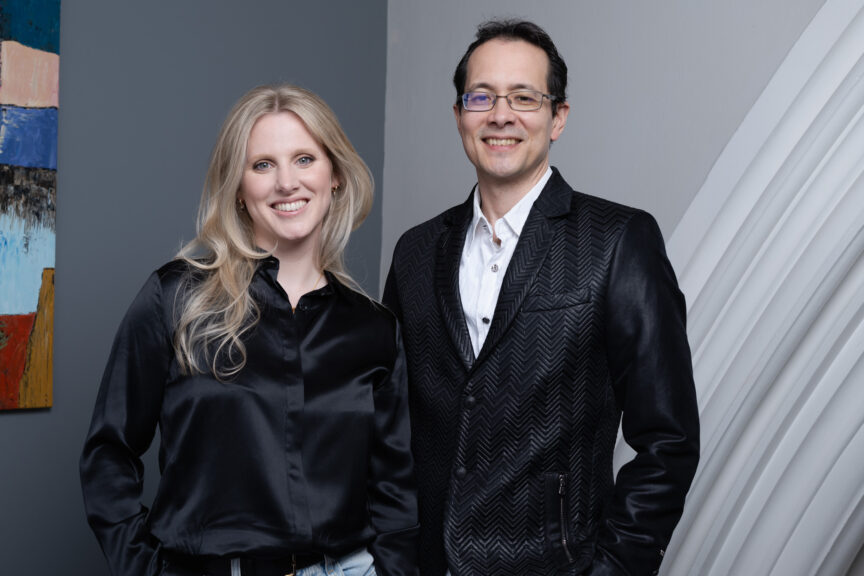
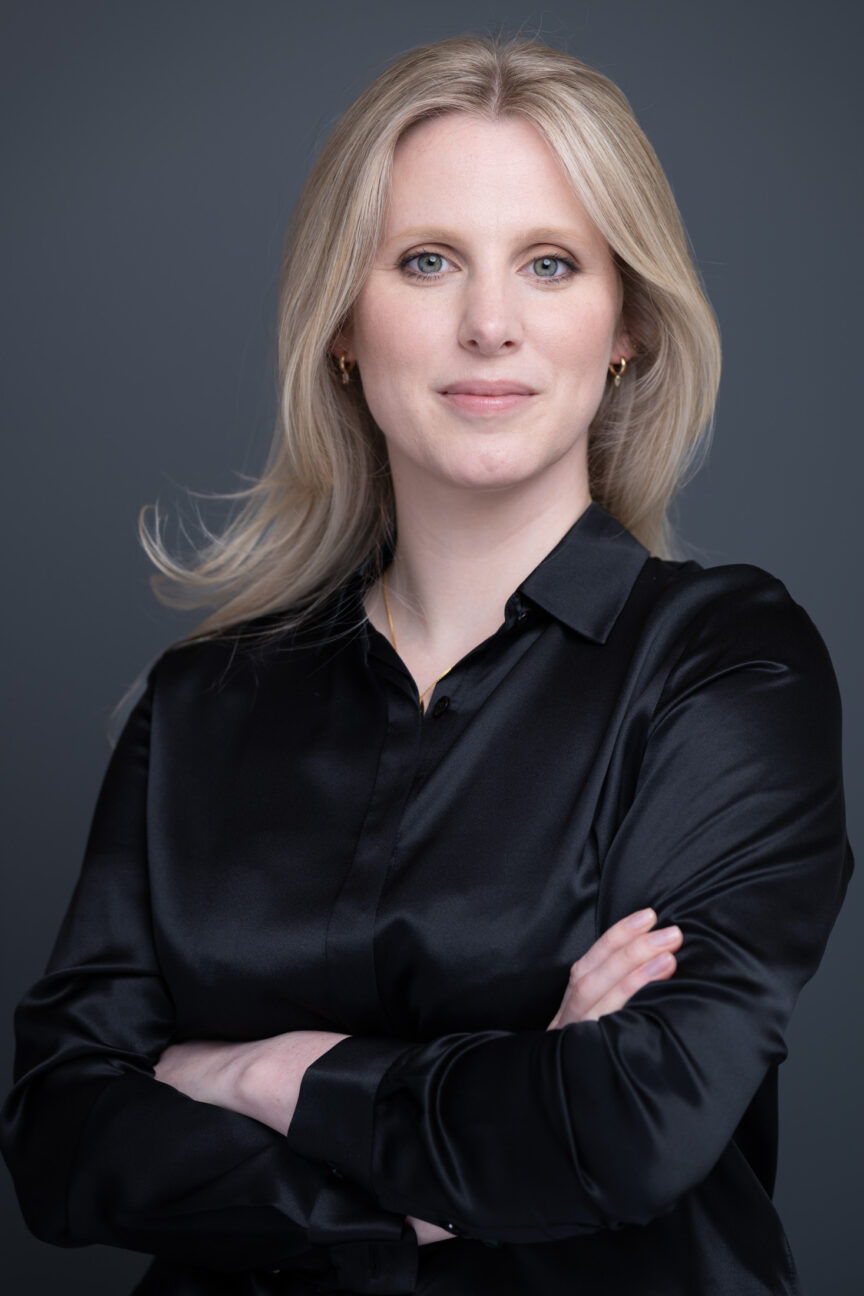
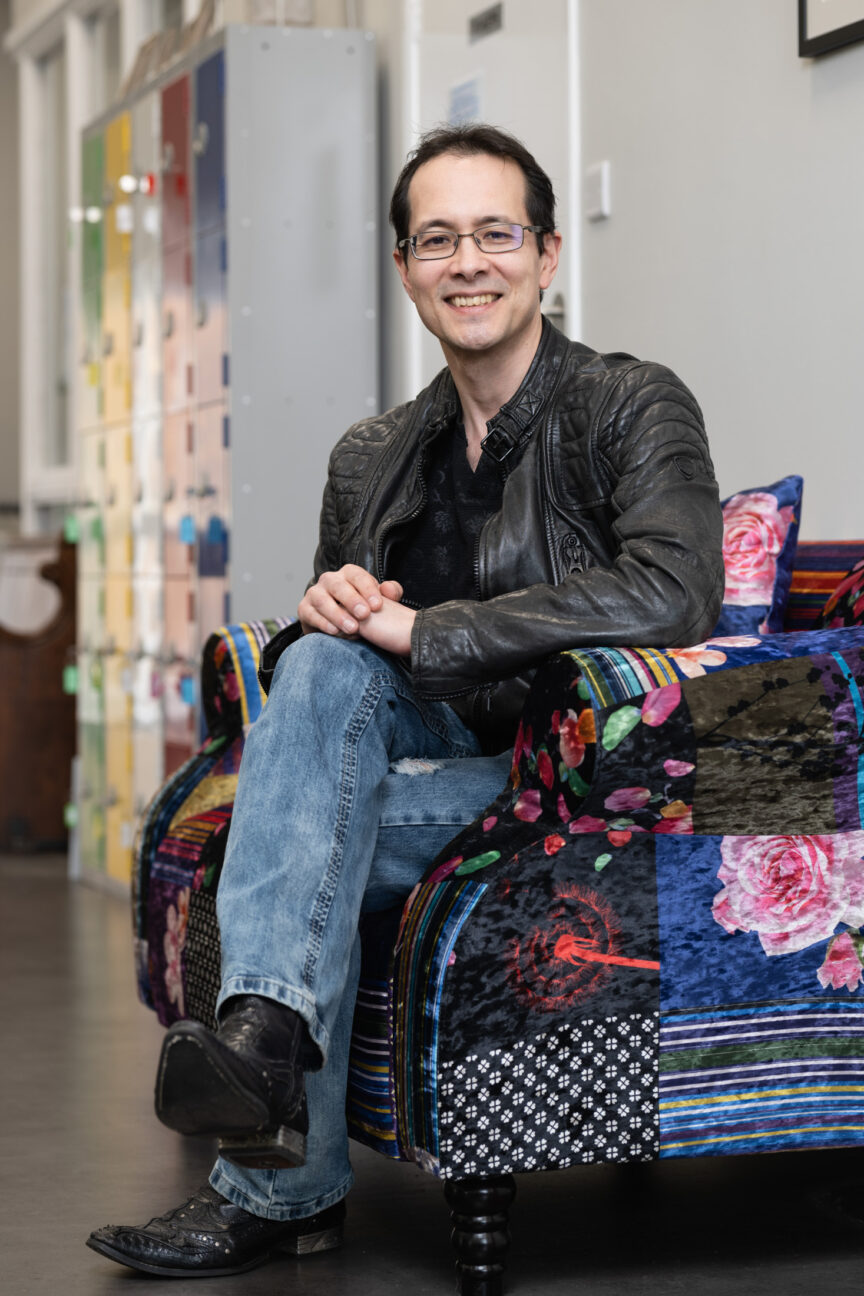
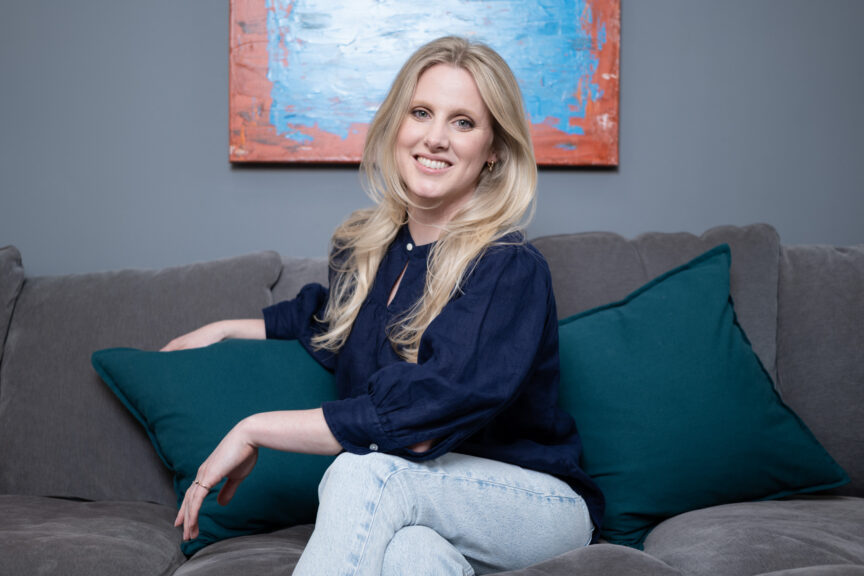
With thanks to Paul Albone and Stefanie Blundell of Pohco Consulting and their new venture Pasamelo for posing so brilliantly, and for their BTS shots of me, and to Futureleap Clifton for hosting us so brilliantly. I also recently used Origin in Berkeley Square, Bristol, who have some fantastic spaces and an incredibly friendly and helpful team.

