I’m going to kick off this article with a couple of apologies; firstly that it’s been quite a while since I posted anything (did you miss me? No? oh well…), and secondly for the somewhat oblique title of the piece. I always struggle with titles, and this was no exception.
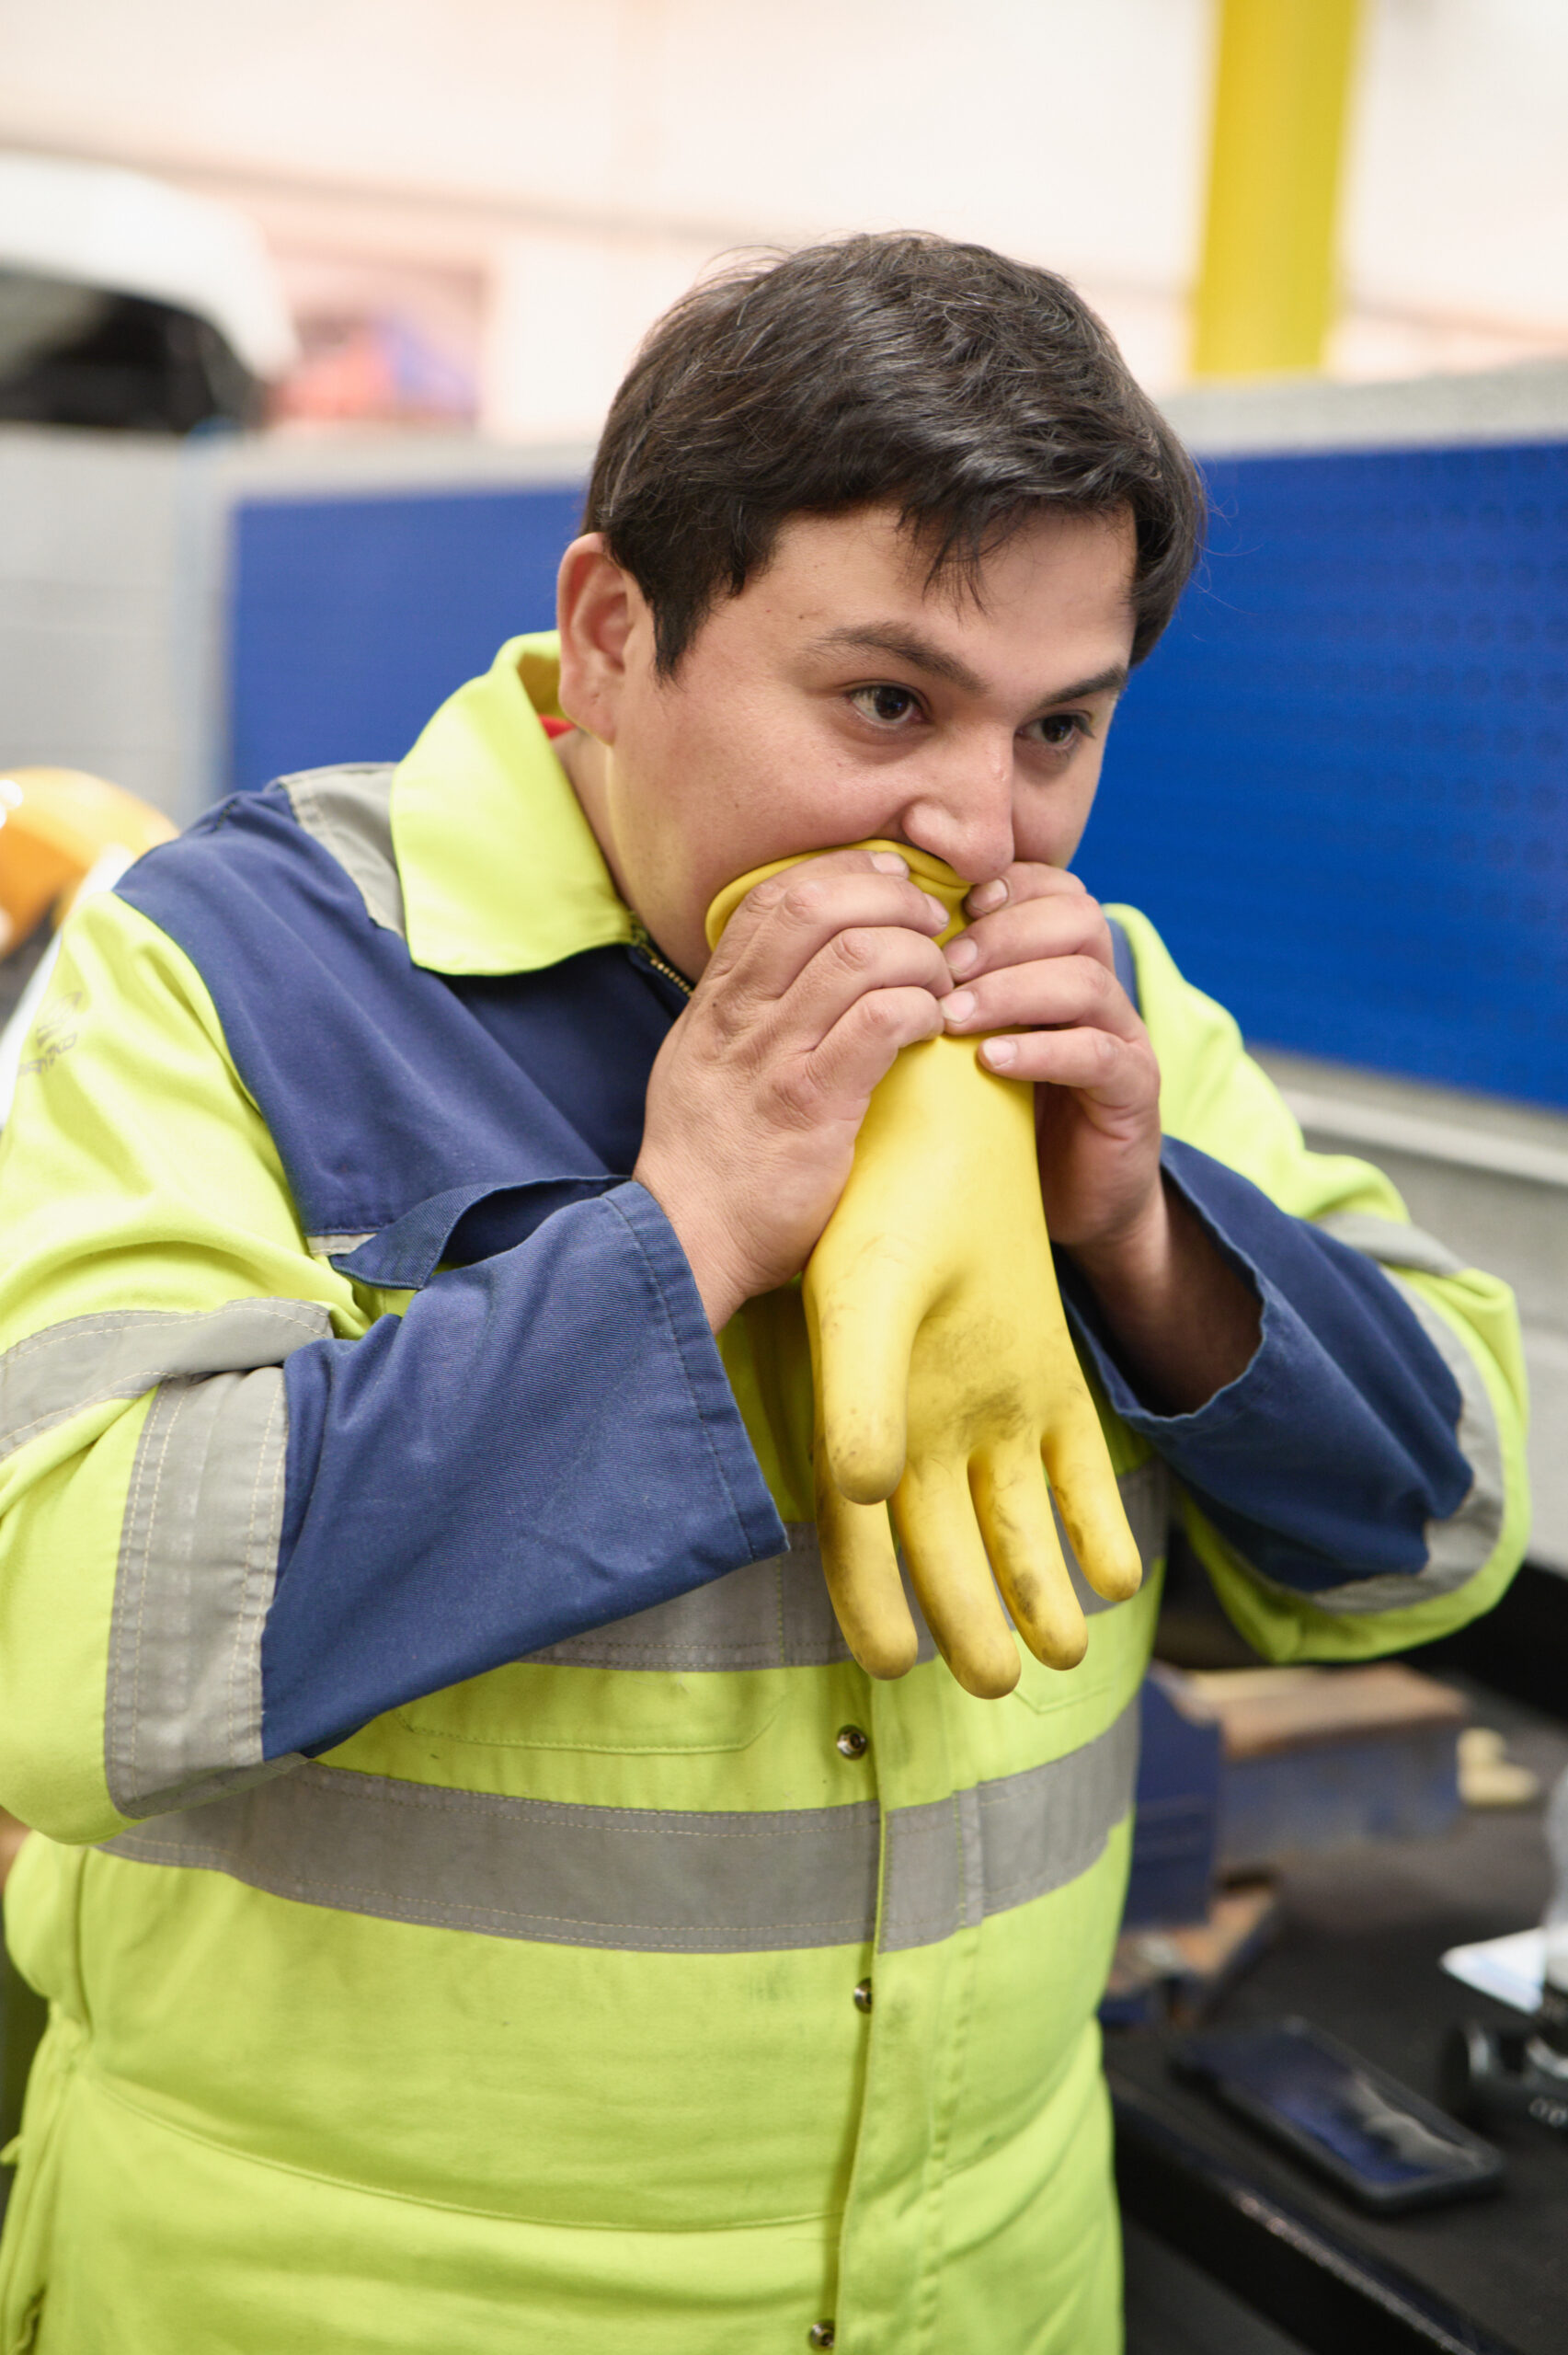
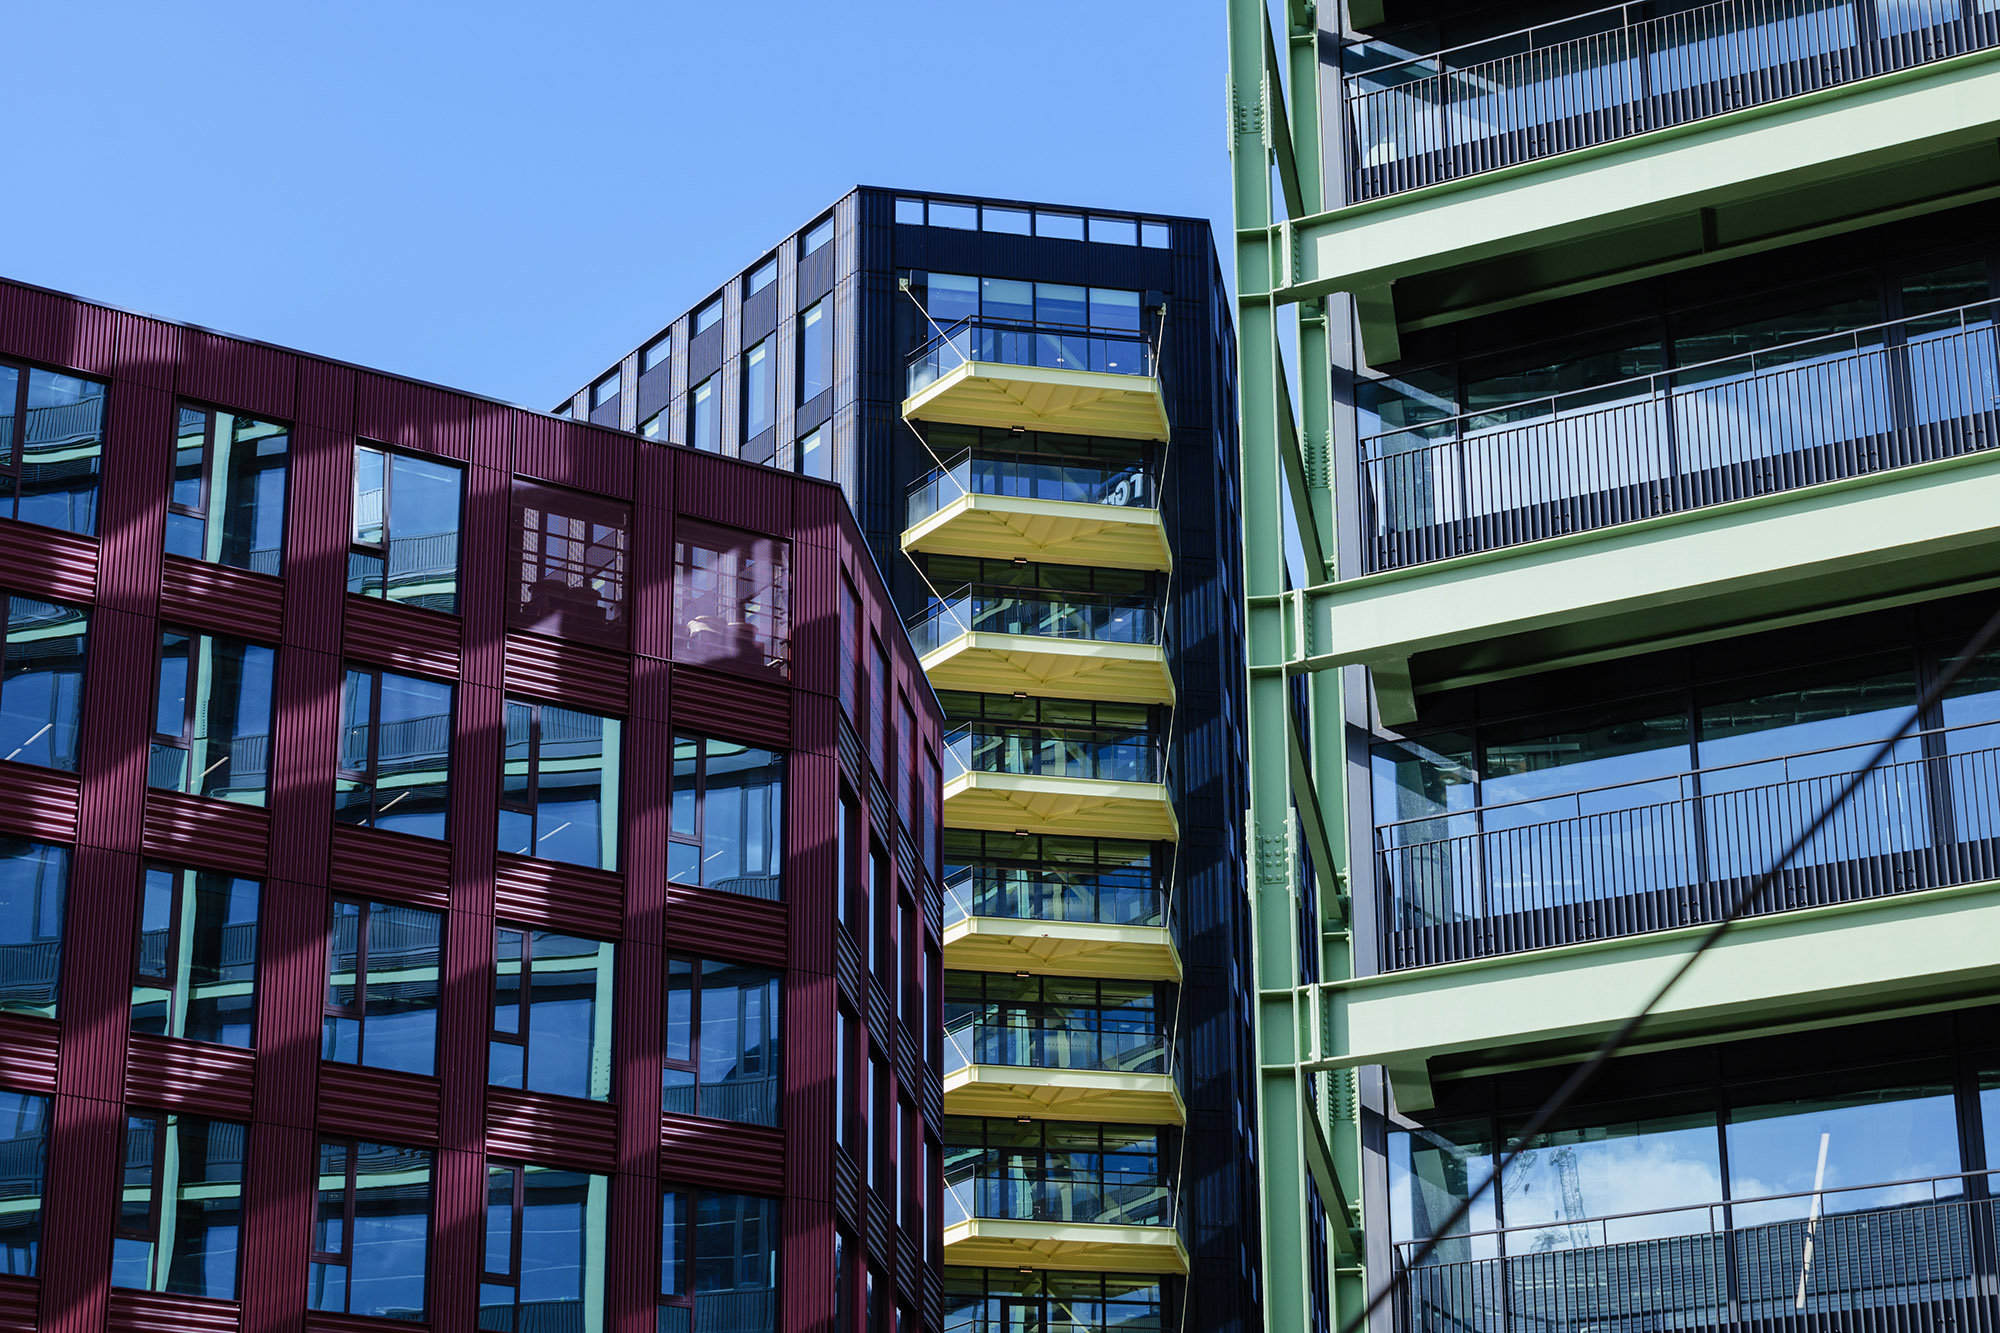
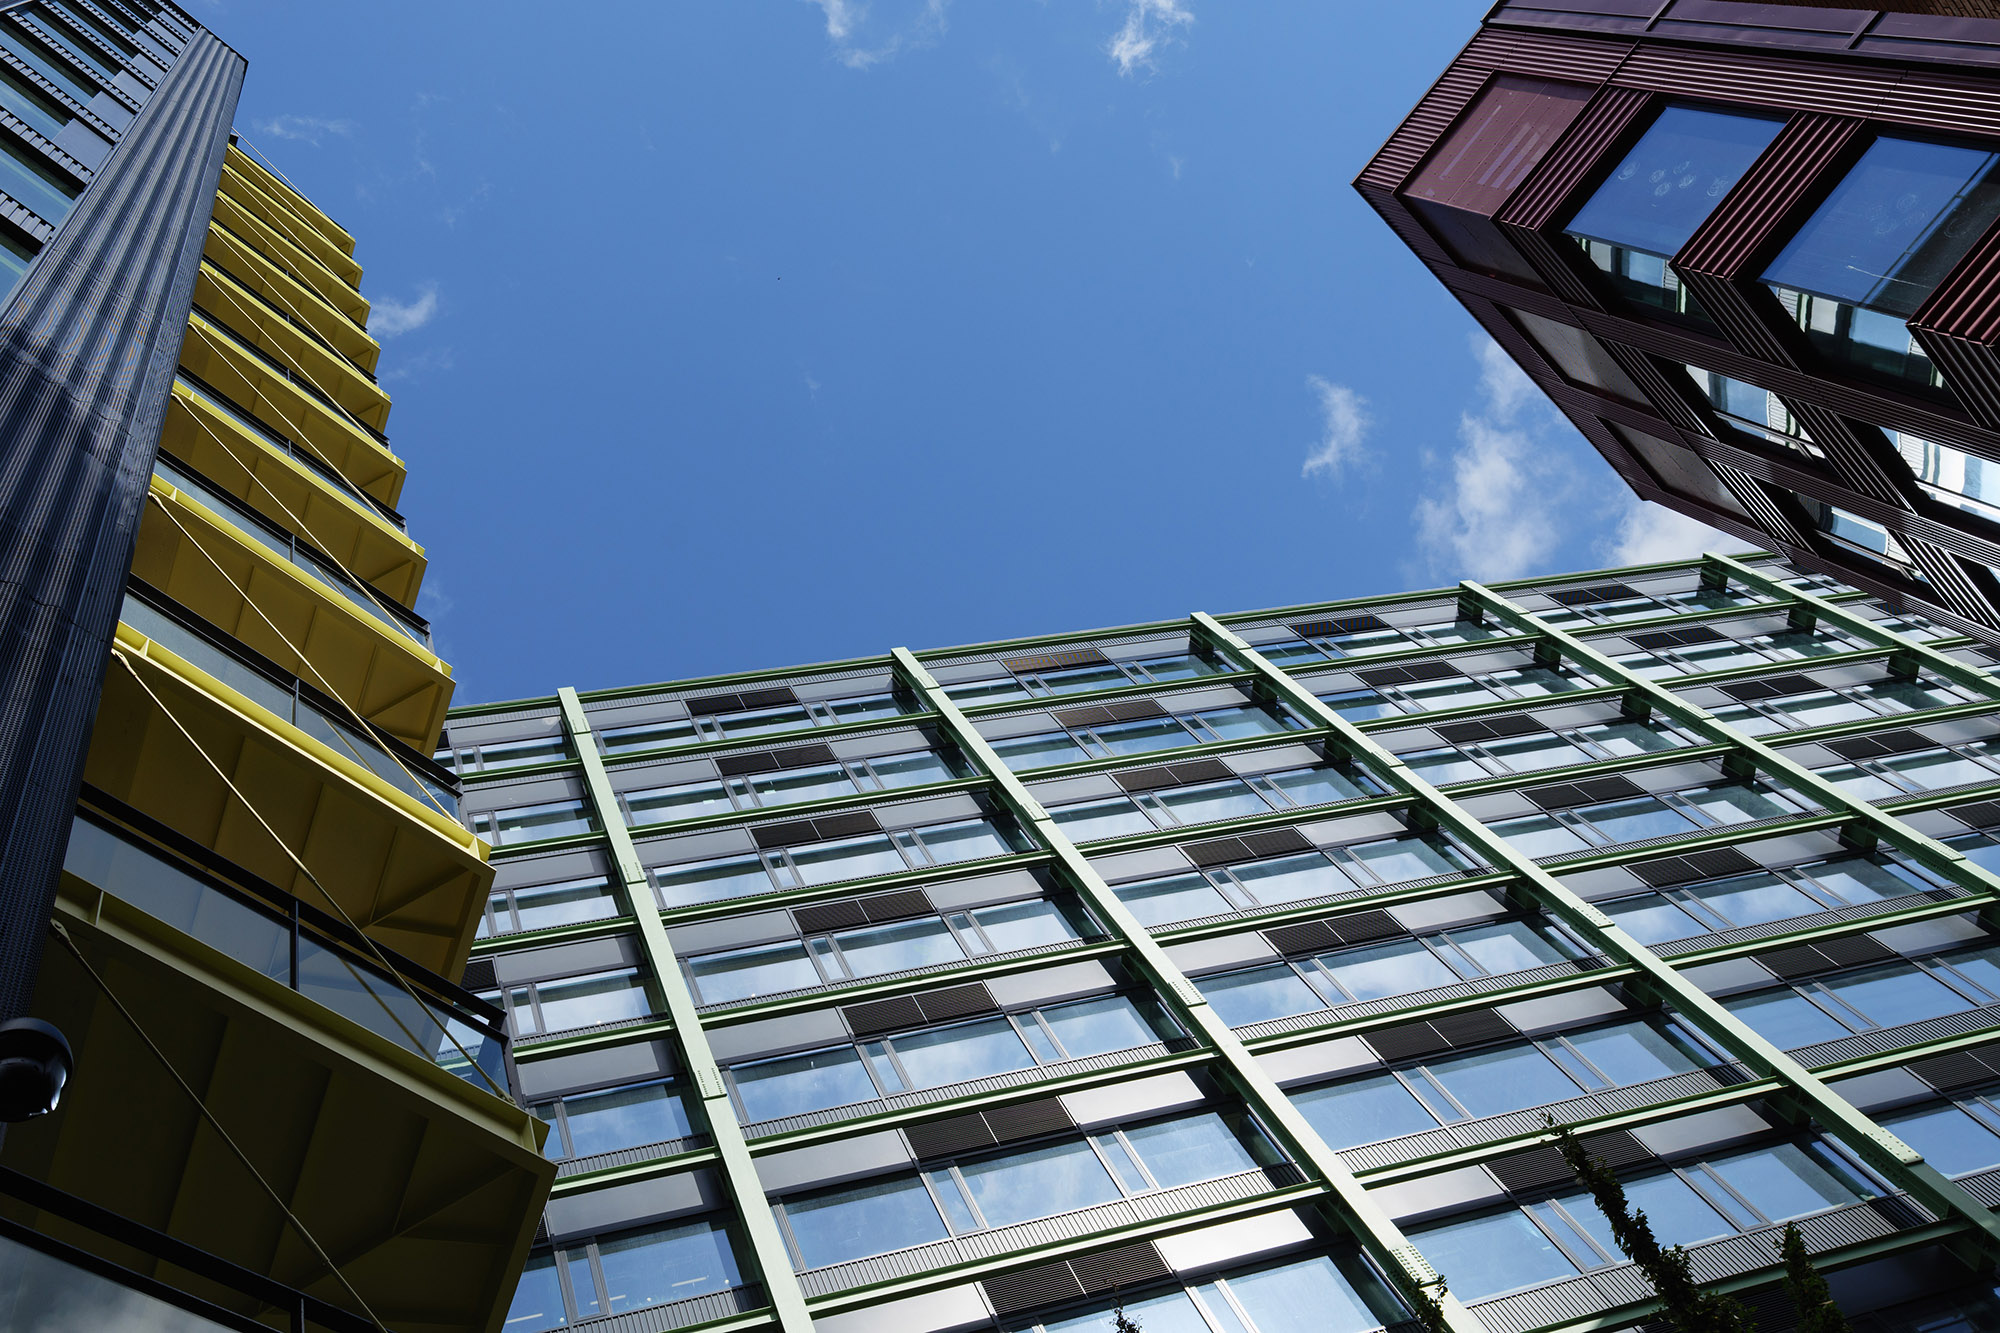
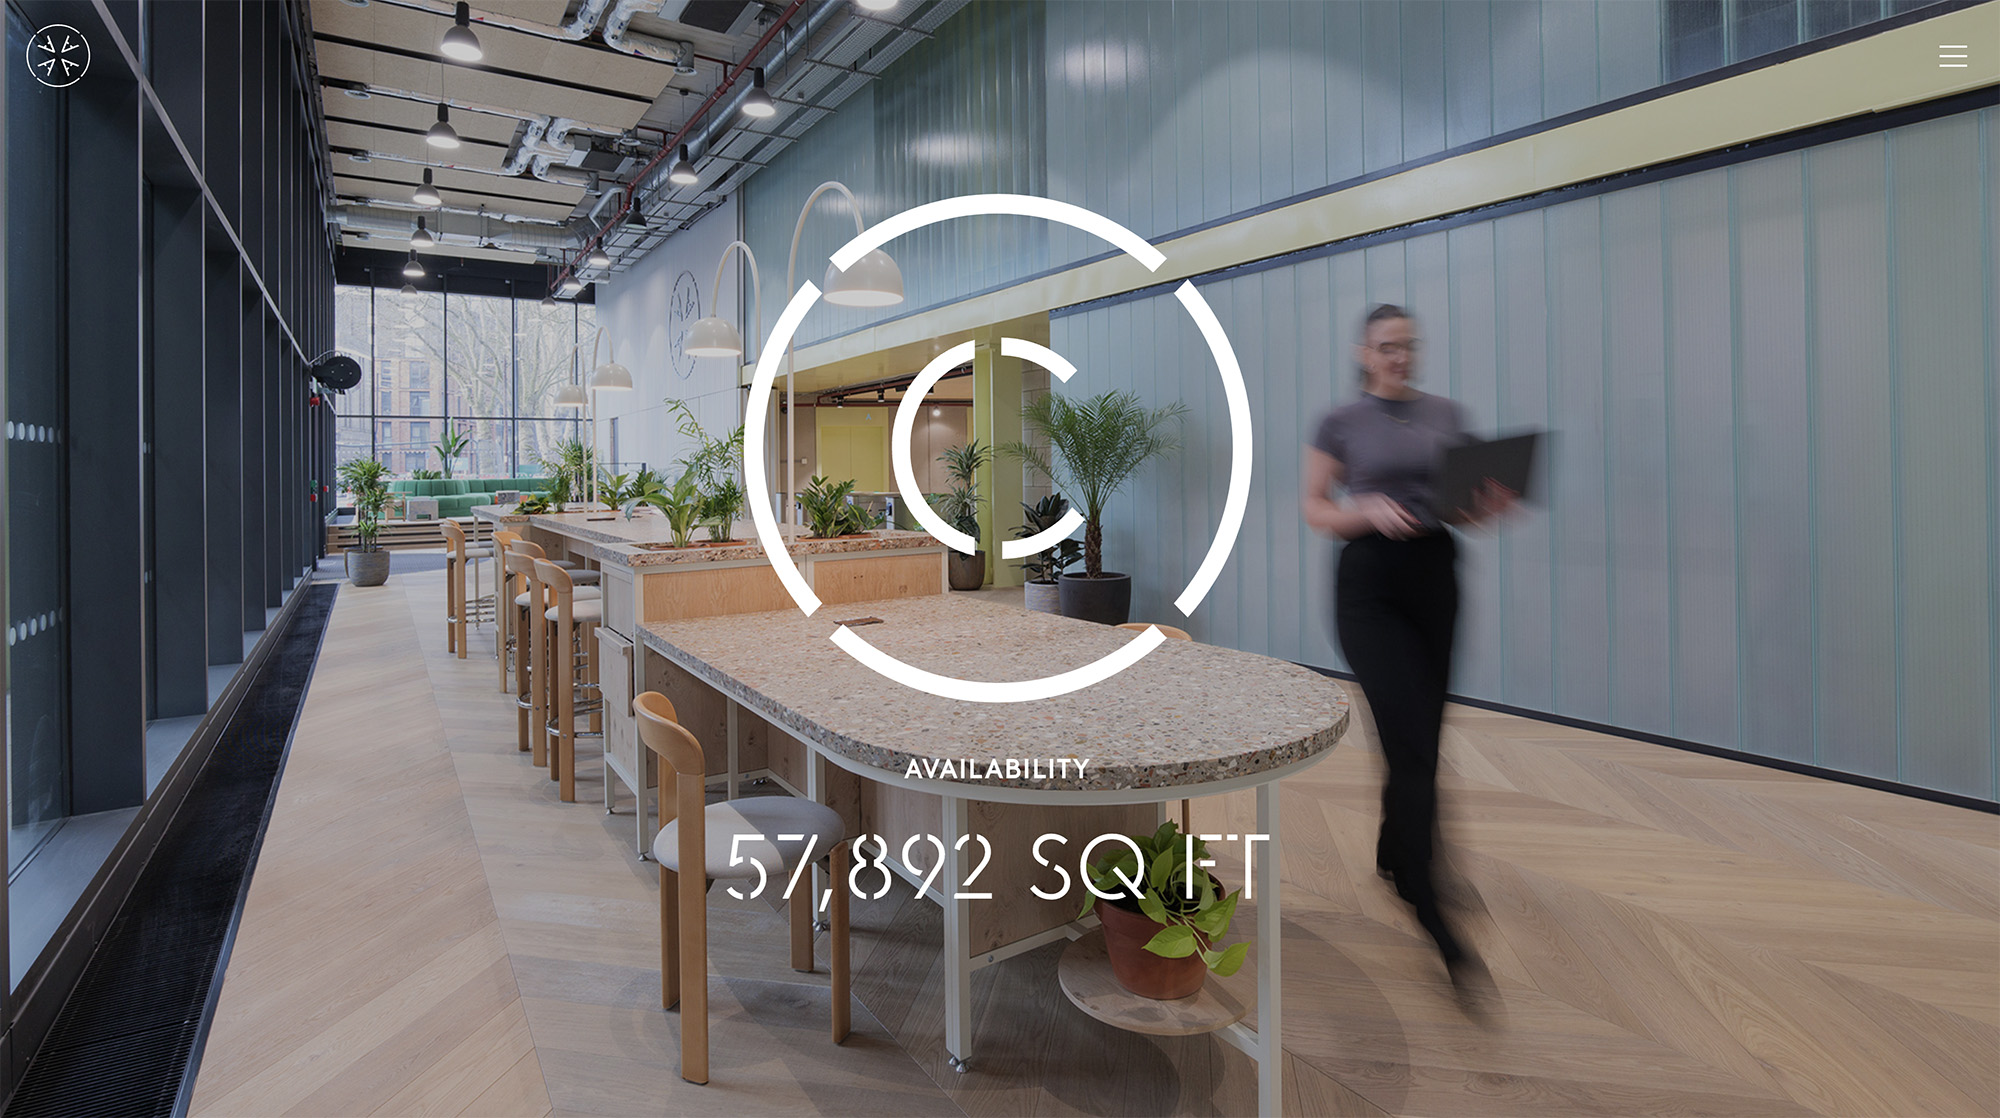
What I’m trying to get to in this one is that while I am going to talk about the cameras I use, this is not a camera review. Think of it more as a personal review of how my kit has performed since I updated it around a year ago.
To start with a little bit of background. I switched from Canon (who I’d been with for more than 20 years) to Panasonic Lumix just as we were emerging from the Covid pandemic. There were multiple reasons for this which I won’t go into here, but just to say I was suitably impressed with the Lumix S5 and found myself selling off my Canon bodies and lenses piece by piece to help fund the transition.
The S5 wasn’t perfect by any stretch (autofocus being its weakest point) but the Lumix bodies are solid and the lenses incredibly sharp and well designed. So I was satisfied with my new commitment.
Keeping a long story short, the S5 was superseded by the S5ii and S5iix bodies, but I held off updating to those preferring instead to stick with what I had until the S1Rii came out. Unlike with the S5ii cameras, it was enough of an upgrade to justify the outlay.
What the S1Rii gave me was a much higher-resolution sensor and solid autofocus. A few other nice-to-have features also swayed me, but this camera has what the original S5 lacked – reliable autofocus, even in tricky situations.
A month or two after purchasing the S1Rii, I upgraded my second S5 body with a S1iiE. Another apology is due here, this time for all the model numbers, but I’ll try to clarify what’s going on here.
So by this time last year I had upgraded both my Lumix S5 bodies. One with a high-resolution body (S1Rii is 44 megapixels), the other with a body with the same resolution as the previous cameras I had (S1iiE is 24 megapixels), but with vastly improved autofocus and handling.
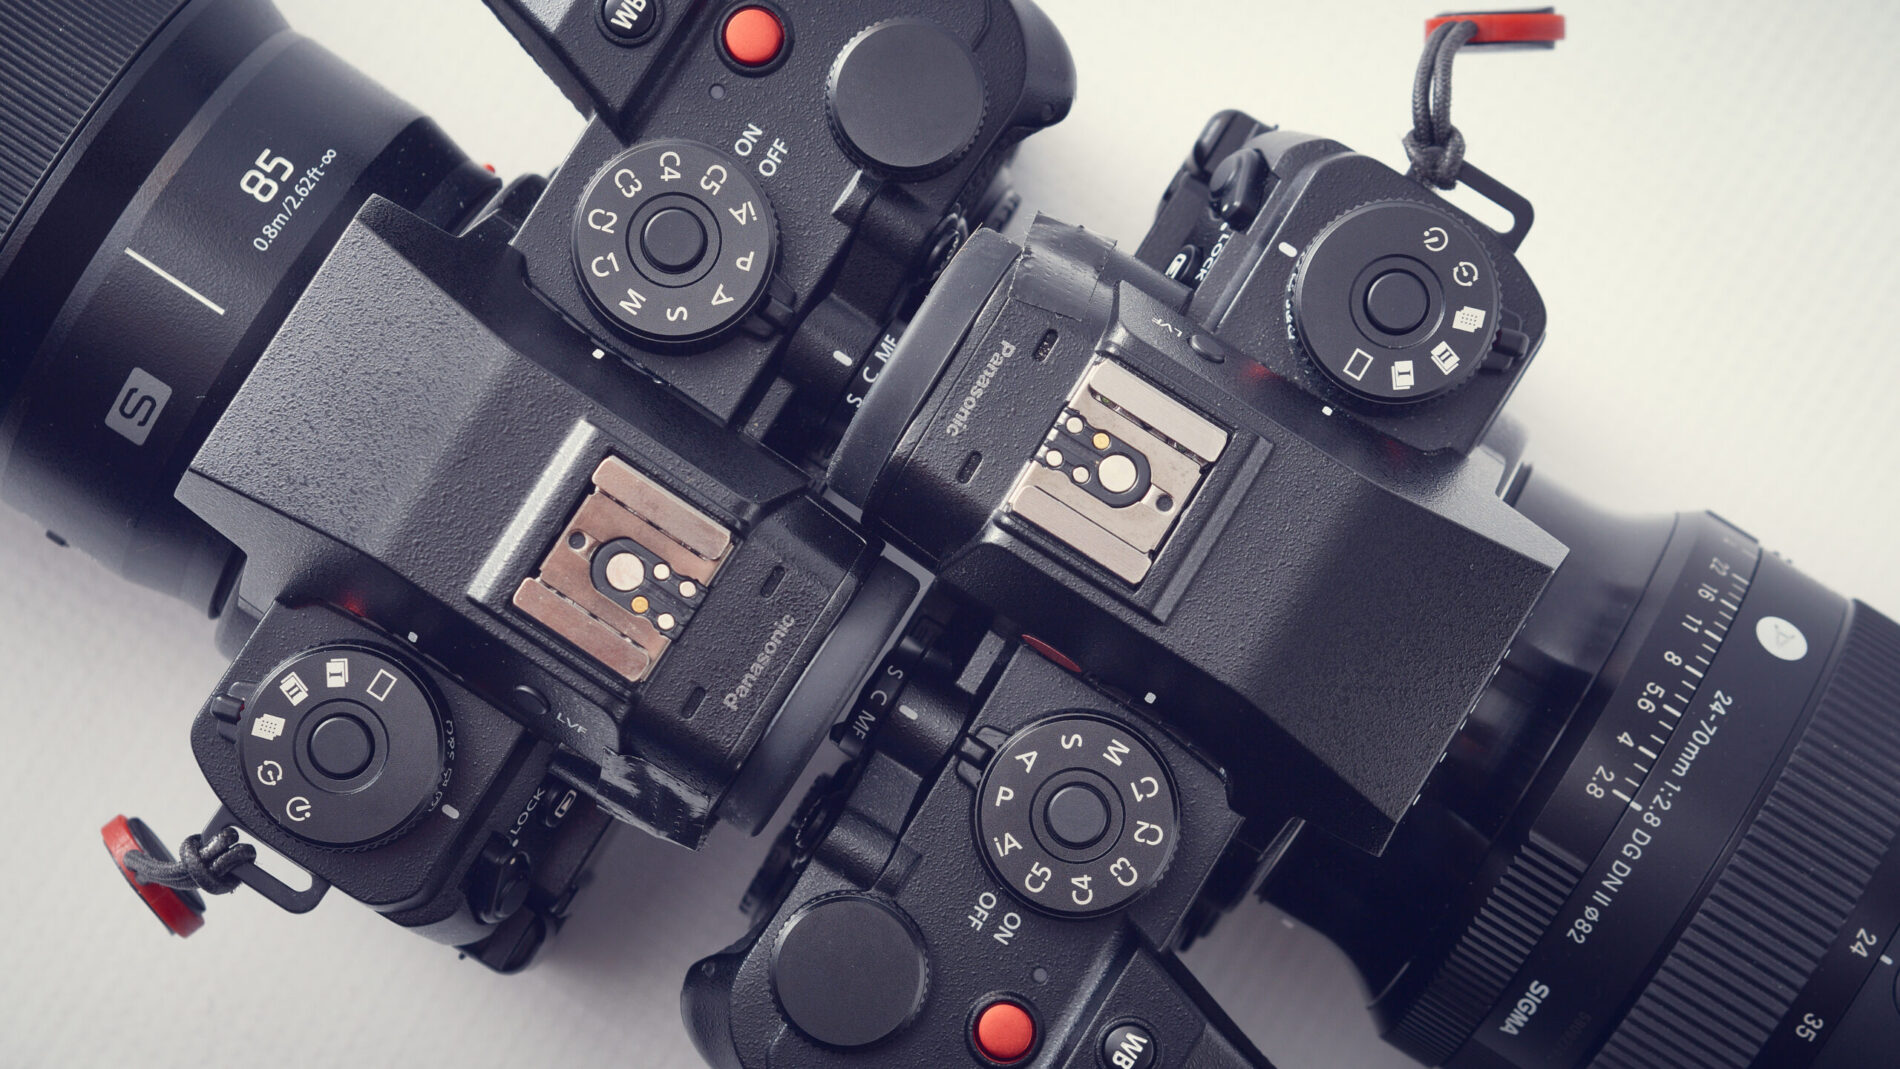
Now here is where I really have to applaud the Lumix design team. With almost any other manufacturer, if you have two different camera bodies (one perhaps cheaper than the other) the handling and controls will always differ too. I always have two cameras for work since only having one is a liability, but the problem with this arrangement is that having different muscle memory for each camera body gets in the way of seamless operation.
The beauty of the Lumix S1Rii and S1iiE is that in looks, handling and controls, they are completely identical. So much so that I’ve put a little red sticker on my S1iiE so I know at a glance which one is which without having to look at the model number on the camera front. The single difference between the two cameras is in the file sizes they spit out.
You might ask why I didn’t just get two S1Rii cameras in the first place; a fair question and the answer is both twofold and simple: 1. cost and 2. file size.
Tackling point 1 first, I could have afforded to buy two S1Rii bodies, but as a freelance I always have to watch I don’t go mad just buying whatever I want. The S1Rii body retails at circa £2,600.00 where the S1iiE is £1,900.00. That’s quite a chunk of money.
Point 2. I didn’t want a 44 megapixel camera for absolutely everything I do. 24 megapixels is pretty much always more than sufficient and is lighter on storage needs, while 44 megapixels is great when I need to crop or for images destined for large print display such as pop-up banners and posters.
In practice I often use both bodies side-by-side on jobs, reducing the need to swap lenses. I like to keep an 85mm lens with its longer reach on the S1Rii and use the S1iiE with wider lenses, the reason being that with 44mp to play with, I can crop to make that 85mm lens more like a 200mm lens without having the attendant bulk, but still retaining image quality.
If I’d stayed with Canon, the R5ii being their closest equivalent (as far as I know) to the S1Rii, costs around £4,000.00 body only. So I’d have to shell out £8,000.00 to have two bodies. Also the R5 is still just 24mp.
So why are Lumix cameras so (relatively) cheap? I might flip that question to ask why the likes of Canon and Sony or Nikon are so expensive. I have to concede that for all Lumix has done to improve autofocus performance, Canon, Sony and to some extent, Nikon, are reckoned to have the edge in this regard. In practice though, I rarely have problems with focusing. The main reason I believe there is such a price disparity is in brand recognition.
Lumix are very highly regarded cameras to those who’ve used them, but the other three have a much larger market share each and can exploit the loyalty they’ve built up. Lumix has often been dismissed as a video-centric brand, but I’d say their stills performance is incredibly compelling.
One other issue could be down to the range of available lenses. Canon, Nikon and Sony all have very extensive choices of lenses, but Lumix is part of a lens mount alliance with Sigma and Leica, and though they are a little lacking in the longer telephoto ranges, I no longer shoot sport so this doesn’t affect me. In all other respects I feel well-catered for when it comes to lens choice.
To conclude: One year after upgrading to my current camera bodies, and around four years since switching to Lumix, am I happy with my decisions? Absolutely. Could Panasonic do more to improve the cameras? Yes of course, but frankly there isn’t much that they lack, so I can see myself continuing with my current pair of bodies for some years to come.